
“Hands-On Animation” by Dunn
Conference:
Experience Type(s):
Title:
- Hands-On Animation
Program Title:
- Electronic Schoolhouse (Workshop)
Organizer(s)/Presenter(s):
Description:
Introduction to Animation using Maya 2.0
3D animation is an important subject in the film and video market. Everyone wants to animate or have some form of 3D animation in their productions. There are numerous tools available in the production environment for 3D animation, and they all work
from similar concepts. In this session we will look at how one software system (Alias|Wavefront’s Maya) handles the concepts of animation.
Maya Overview
Maya’s Architecture
• A brief look at how objects are defined in Maya with nodes and attributes.
• Use of the dependency graph view to look at the relationship between nodes.
Animation in Maya
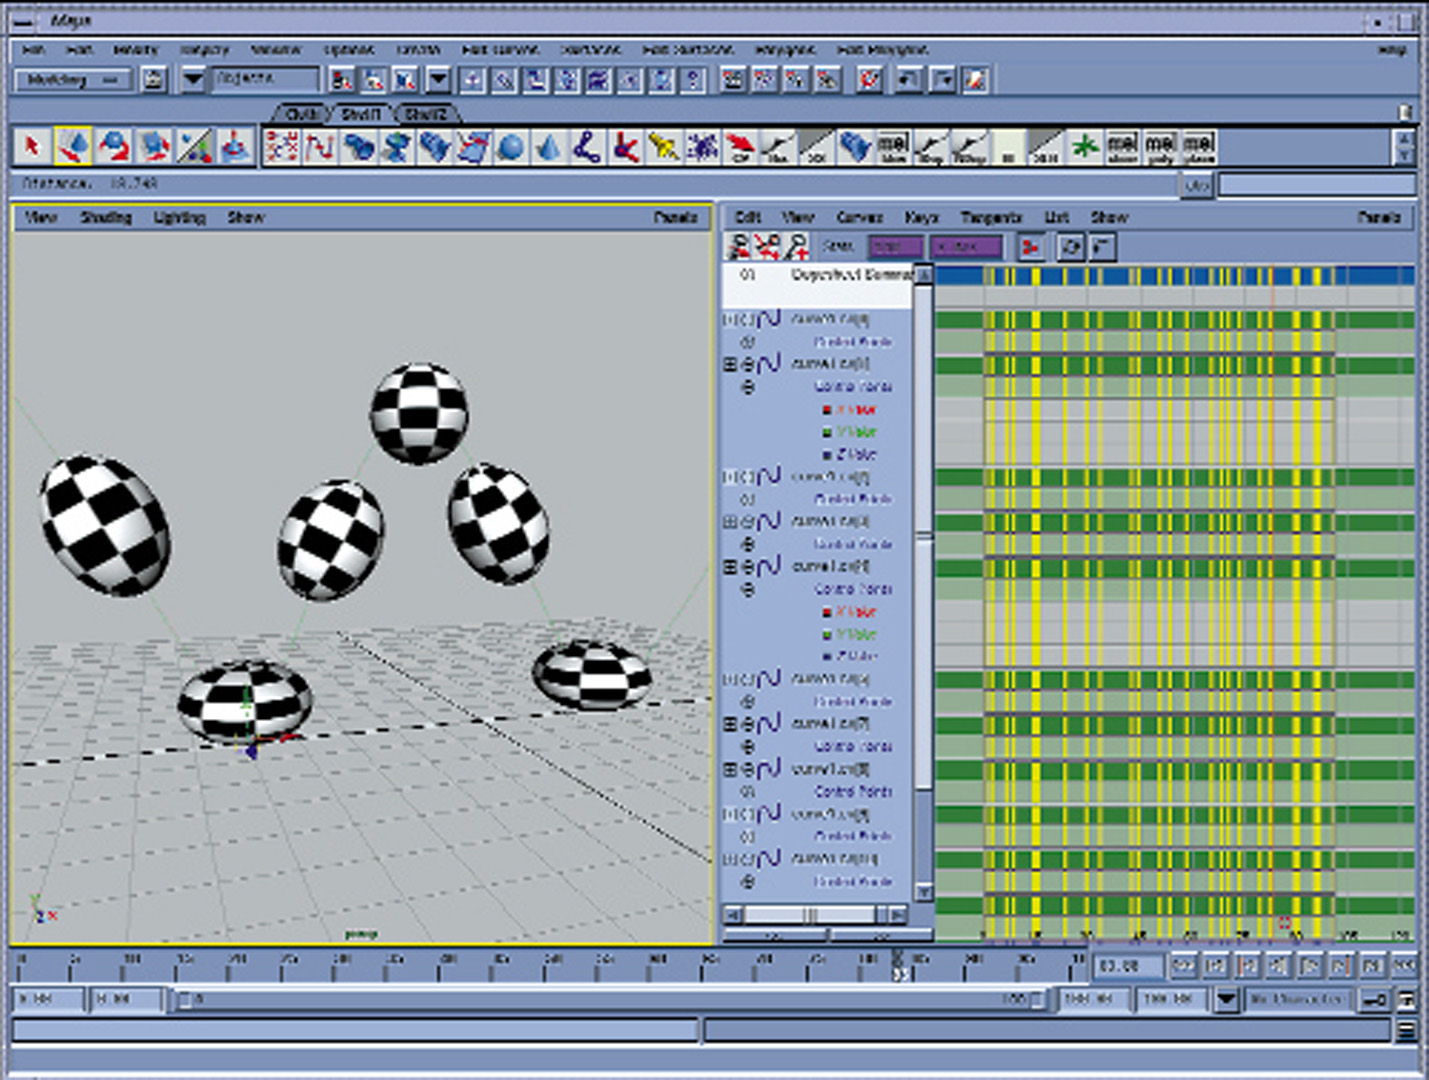
To animate something is to bring it to life. A simple cube can be considered a character and brought to life by a good animator. The animator is able to give it personality by carefully animating the cube’s movements with subtle nuances. We no longer see the cube as an inanimate object but as a character with personality. In Maya, there are several different ways in which you can animate your scenes and the characters who inhabit them. In this session we concentrate on the basic tools used for animation.
Keyframes
To understand keyframes, you need to look at time. Within Maya, you are able to define what time is by using a frame rate. A certain number of frames will define one second of time (for example, 30 frames per second for video). Once you have defined your frame rate, you know how many frames make up a second (in this example 30). This is important because a keyframe is a key set on a specific frame. The key is specific information about the object that is held at that frame, such as position, scale, and rotation. At a different frame, the key can hold different information. If you wanted an object to move from position A to position B in one second, then you would put one keyframe on the object at position A, frame one and a second keyframe on the object at position B, frame 30.The system now has two keyframes that define the object’s position at two different times. Since the positions are different from the first frame to the second, when the system moves to frame two, the object starts to move. As you progress through the frames, the object will continue to move until it reaches the position at frame 30 defined by the keyframe. When this animation is played back, the object moves from position A to position B in one second. The tools we will be looking
at are:
• Set key
• Auto key
• Set breakdown
Editing Keyframes
When animating, you will generally take a first pass at an animation by blocking out positions. This is a rough first pass of an animation, setting initial keyframes to establish positions of your objects. Once you have established initial positions and
keyframes, you will need to spend time editing them by moving keyframes and inserting new ones. There are a number of tools and windows that can help you when it comes to editing keyframes:
• Time slider
• Graph editor
• Dope sheet
• Curve tangents
Hierarchical Animation
Hierarchical animation is used to add secondary animation to an object. For example, if you animated a bouncing ball, you might want to introduce some squash and stretch as well as some rotation. If you were animating a car, you would want the tires to
rotate and the engine to run.To make these examples work effectively, you need to use a hierarchy.
Set Driven Key
This is a powerful tool that lets you connect the animation from one object to another object or objects. You can quickly set up an animation where you keyframe one object and use that keyframed motion to drive the movements of one or more objects.
Path Animation
Another important animation tool is the path tool, which allows you to define the motion of your object by using a path. First you need to draw a curve defining where your object will travel, and then you use the path tool to attach the object to that curve (for example, a car on a roller coaster).To further modify the animation of the object, you would then modify the curve and the keyframes generated along its path.